Wednesday, July 24, 2019

An 1865 Spring

I am really starting to admire and enjoy the late to post war fashions.  I really am.  There's just something very elegant about the elliptical shape.  Up until now, I've only had the red dress but this past March, I was really craving a springy-green dress for Liendo.  The weather was super nice, I was planting a garden, we were hatching chicks at school-spring was just on my mind!

I only had one dress length of silk that was a springy-green in my fabric stash.  It was destined to be a late war dress so I went with that.

In preparation, I took apart the old elliptical hoopskirt and remade it-correctly-and a bit smaller for my height.  My goodness-I can actually sit in it now!!  I also could not find my elliptical petticoat (turns out I had left it at Liendo) so I cut and sewed another one.  Then I was ready to move on to the dress.

The fabric is actually striped with black and green on the warp, but the weft is all green so it's minty green with just a touch of black.  In addition to the stripes, there are little green and black embroidered dots throughout the fabric.  I don't know.  It was just screaming to be elliptical!


I used this original dress as trim inspiration:

Museum of Fine Arts, Boston

Then I went to town sewing.  I've actually worn this dress four times in two months-it's quickly becoming a favorite!


To dress it up, I wore my grape earrings from Etsy, as well as a reproduction of an 1864 brooch from ItsHistoricallyYours on Etsy.  I also wore my lavender hairnet from Timely Tresses.  To go out, I replaced my hairnet with my 1864 black bonnet made from Timely Tresses' pattern, Clara Christine.  I also used my 1860's Chantilly lace parasol for sunny days (it's Texas-most of the days I wear 1860's clothes are sunny.  That's why I haven't invested in rubbers or raincoats/umbrellas yet).  On my feet, I worn my American Duchess Renoir.  Hopefully the next time I wear the dress, I'll have the presence of mind to have pictures taken!

Enjoy!

Wednesday, July 17, 2019

1830's Bustle, aka "The Butt Ruffle"

Previous posts in completing an 1830's ensemble.
Introduction
1830's Shifts

After having an underpetticoat and a corded petticoat complete (post to come), the next step was a bustle.  Yes, women wore bustles in the 1830's.  They're even called bustles in the Workwoman's Guide as opposed to the 'bum pads' of the 18th century.

Private collection, early 19th century.  One of blonde crinoline and the others of black sateen.

Manchester Galleries, 1833.

National Trust, 1820's.

In fact, the Workwoman's Guide has instructions for three bustles.  One is the more typical bustle of the 1850's and 1860's, sort of a half moon crescent shape, stuffed with down, and then had ties to tie in the front.  The Workwoman's Guide calls this kind of bustle a 'down bustle'.  The text reads, "Some persons wear down bustles (See Fig. 33), which are made of glazed lining muslin.  A flat half circle or oval is cut out, about two nails and a half wide by two nails deep, and another piece, of an oblong shape, rounded at the corners, much longer and deeper, say three-quarters of a yard long by four nails and a half deep, is fulled into the smaller piece on one side, and into a tape on the other or top, thus making a bag to contain the down, which should be either swans or the best goose down."

Another option is similar to the one I did but instead of cording them hems, they Van Dyked them (triangular pinking) similar to the National Trust extant bustle.

Having no down in my stash and no will to actually draw out a draft half circles and oblong pieces, I opted for the other bustle, the ruffled one.  The text about bustles reads, "Bustles are worn by those whose shape requires something to set off the skirt of the gown.  They should not be too large, or they look indelicate, and in bad taste.  They are made of jean, strong calico, and sometimes of glazed calico.  Fig 30 represents a simple bustle of strong calico.  It is composed of one piece the width of the calico, say a yard, and eight nails deep.  This piece is doubled in two, so as to make two flounces, the one four nails and a half long, and the other three and a half.  At one nail from the doubled top make a narrow case to admit of tapes.  The bottoms of the flounces are hemmed with a very thick cord in them.  When worn, the bustle is turned inside out, by which means the frill falls between the other two flounces (see Fig. 32)."

I ended up using canton flannel flat lined with cotton muslin to hide the fuzzy flannel side of the fabric as I had no jean or heavy fabric.  It worked really well.  Fortunately, when making up the bustle, I had more than the Workwoman's Guide to help with the sewing.  Abby Cox from American Duchess had a video blog up on Youtube of her making an 1830's bustle-this exact pattern.  Yay for being able to see someone make it up so that I didn't have to figure out what was going on without detailed illustrations!

I didn't have any thick cord so I used my normal piping cord but three thicknesses of it through each channel.  I did three channels on each end then hemmed it up.  I will say I am not a fan of doing piping channels by hand.  I'm glad there wasn't a lot of it to do!  The pleats were knife pleats (1" pleat with 1 1/2" folded into the pleats) with an inverted box pleat in the center.  I then used cotton twill tape as ties.  Super easy, quick afternoon project!


Enjoy!

Monday, July 15, 2019

1830's Shifts

First 1830's project!  They're nothing fancy, in fact, they're quite a mess!  As discussed in the introduction post, I'm beginning a new 1830's adventure.  This is my first sewing attempt pre-1853.  Let's just say it was interesting.

First thing first: as I had no experience with this time period, I needed to look at some originals to see what was typical for 1830's shifts.

National Trust Collection, 1830's
Private collection, 1820-1830


Historic Locust Grove, 1830's

Victoria & Albert Museum, 1835
Unknown collection.  Listed as 1820's but I think 1830's 


For my shifts, I decided to use the Workwoman's Guide (1838) mostly because it is free and is an original source.  WWG includes written instructions and illustrated plates.
The main directions for a shift were easy to follow and would have worked just fine if I actually had any skill in reading step by step directions (which I do not).  I cut across the top where I should not have which would have been fine if I had just made a shoulder seam but I decided to try my hand at the crossed shift.  That did not fit AT ALL so I ended up taking the parts from both shifts and that was enough to give me 2 shifts.  Basically, my 'pattern' is the main shift (fig. 1) being the front and back with 2 crossed shifts (fig. 4) being underarm gores.  So there were 6 pieces per shift.  For the first shift, I made a square underarm gusset that I made bigger than the pattern called for (I don't remember the reason I did so) and on the first shift, I followed directions for shoulder straps and sleeves.  I had to add 1" to the shoulder strap in front to fit and then I ended up not being able to gather the sleeve onto a band because it wasn't wide enough to give me very many gathers.  As with the crossed shift pattern, I added bust gussets as well.  Then I used silk ribbon to draw up both the front and the back.  I made both shifts about knee-length and used a narrow hem.  For the second shift, I cut my sleeves longer and used the last 3 figures as a pattern to avoid cutting separate underarm gussets.  I then put these sleeves on a band.  All seams are hand sewn.

I think for the next shift, I'll buy a commercial pattern.  I know Past Patterns has one.

Finished shifts:


I think next time I'll use straight shoulder pieces as opposed to the shaped ones as well.  At the very least, it was a learning experience!

Enjoy!

Friday, July 12, 2019

Three American Marquis

My very first parasol was a marquis dating from 1861-1862.  Since then, I've gotten my hands on three more.

Marquis simply means that there's a second tilting mechanism at the top of the parasol that allows the parasol to be made to go vertical instead of horizontal.  They've been around since around 1800, but right before the beginning of the Civil War, an American manufacturer starting making marquis parasols for the market.  These were (as far as I can tell) the very first American made parasols for sale.  They were usually very cheap (some selling for as little as $1) and as they were affordable, they were very, very common.  Just by the sheer number of them that are still around, one can tell they were plentiful back then.  American made marquis are black.  Black, black, black.  Black sticks, black handles, black finials, black silk cover, black silk lining, black trim.  Even the ribs were black (and by 1860, they were metal.  No baleen or rattan ribs for these parasols!)  AFTER the war, you'll see some white and pink linings and I have heard tale of exactly ONE parasol dating to 1867 whose cover was a black and white stripe.  For war purposes, they are black.  All black.  Trim could include no trim, a single straight ruffle, two straight ruffles, one chevron ruffle, two chevron ruffles, and one straight and one chevron ruffle.  Never fringe.  Edges of cover, lining, and ruffles was usually scalloped.  My 1862/1863 parasol didn't have big scallops, just little ones.  Normally, you have 3/4"-1" scallops that are made of tiny scallops.  This was done on a pinking machine similar to my modern one that I used for the purple chantilly and 1st marquis parasol.

For dating purposes, you'll find the American marquis with both a ball on the finial and handle are the earliest.  1860-1861.  In later 1860-1862, you'll find ball handles but long finials.  In 1863, you'll start to see carving on the handles.  Handles became more and more elaborate towards the end of the war and afterward.  You'll see many shapes and some very detailed carving on these parasols.

Okay.  So now that the little marquis lesson is over, let's see some parasols.

This first one is right around 1860. She's itty bitty, or, at least her handle is.  Her cover is completely untrimmed, but she's still pretty.  Here are the original photos of her:


One side of chain stitch
Other side of chain stitch
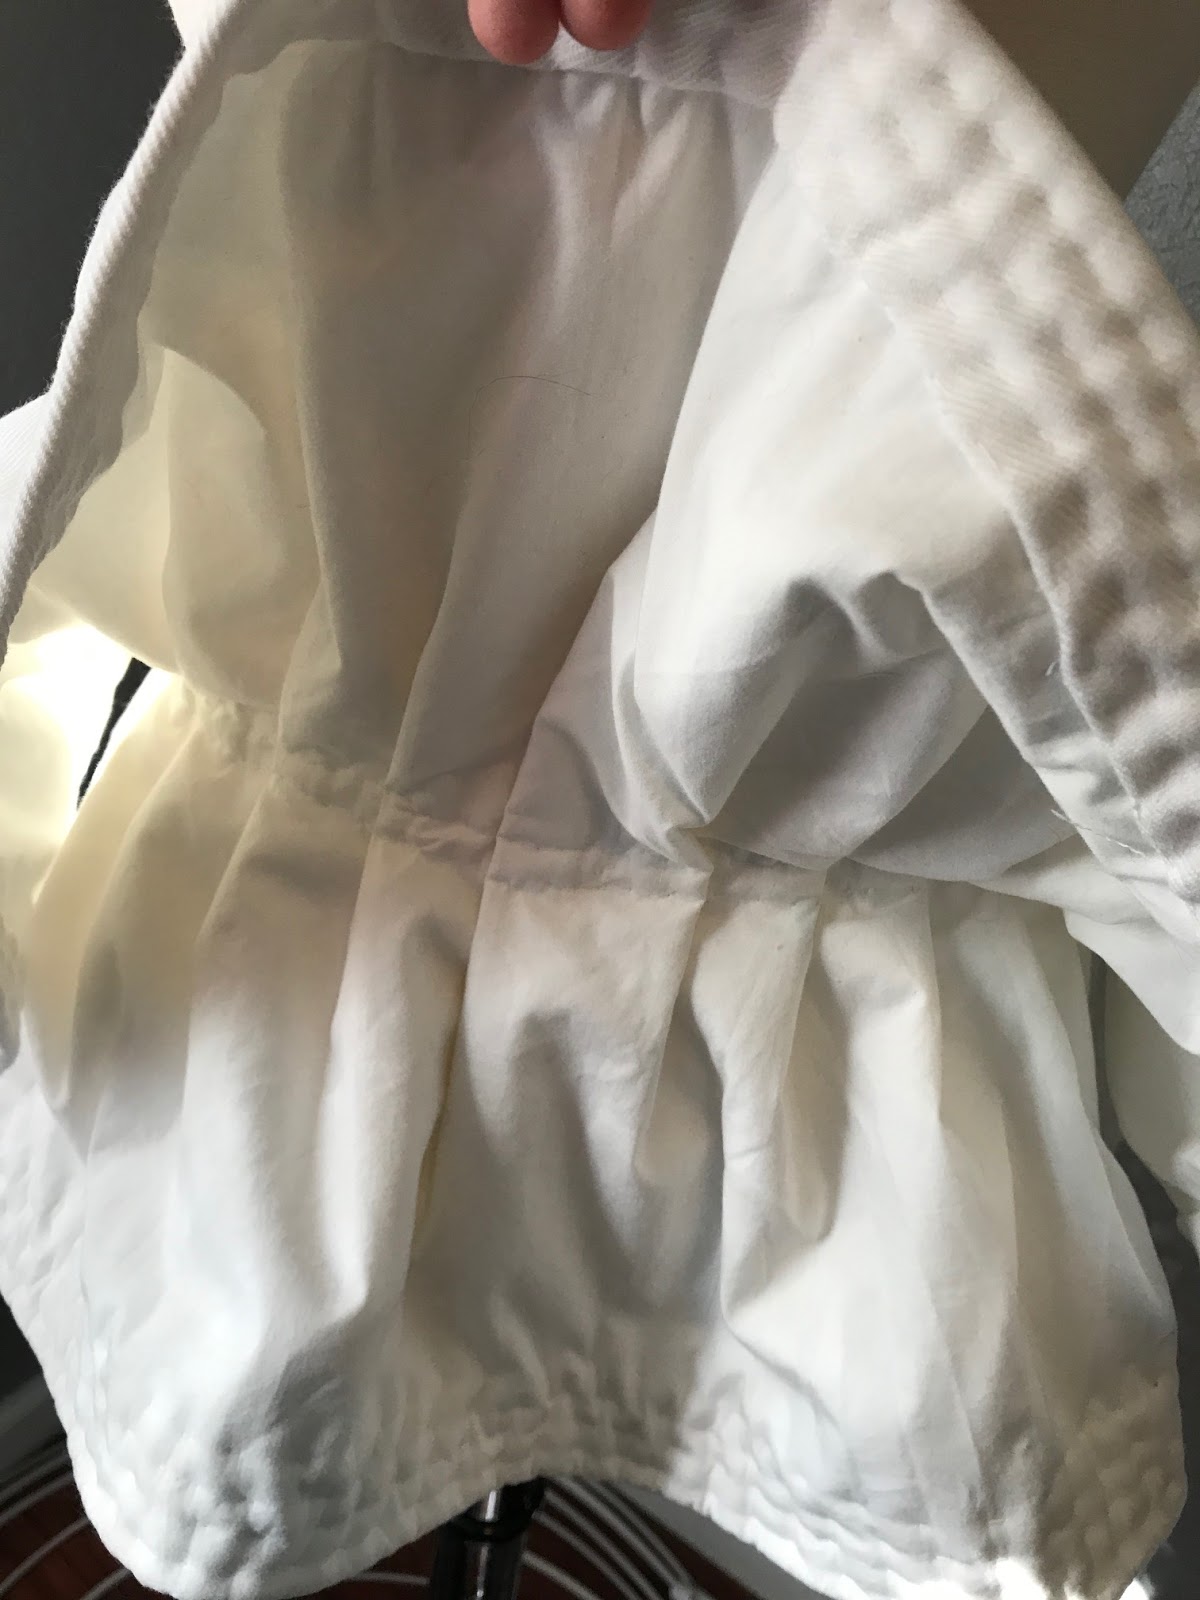


And uncovered:


And recovered:


The cover is off.  It looked better before I lined it so I must be doing something when I line parasols that is messing with the cover.  This cover will have to be done again at some point.

Measurements:
Length unfolded: 21"
Length folded: 11.5"
Handle length: 9.5"
Rib length: 8.5"
Canopy diameter: 16"
Finial length: .5"

The second parasol has a long and carved finial and a pretty little handle with no carving.  I'm dating her to late 1862/early 1863.  Definitely more decorative than earlier parasols, but no carving on her handle.  She has two chevron ruffles adorning her.  Original photos:


And uncovered:


And recovered:


Measurements:
Length unfolded: 28"
Length folded: 16"
Handle length: 12"
Rib length: 11"
Canopy diameter: 19"
Finial length: 2.25"

The next one is going to be left all original.  It's an 1865/1866 marquis.  Look at that beautiful carving on that handle!


This marquis looks very much a late to post war marquis.  Carving on the handle is detailed and the finial has a bamboo pattern to it, not as detailed as the handle but still pretty.  The ribs are metal and both the cover and lining are silk taffeta.  Instead of scalloped edges, both silks have been pinked.  However, the v's on the pinks are much larger than typical modern pinking sheers can do.  They measure 1/4" horizontally and the same vertically.

Measurements:
Length unfolded: 26"
Length folded: 14"
Handle length: 12"
Rib length: 8.75"
Canopy diameter: (estimated, parasol was not opened all the way) 15"
Finial length: 2.5"

Enjoy!