Being that I hope to start attending 1830s events soon, I decided to work on a few practical wardrobe pieces for interacting with the public. A card case for Sarah's (my character) visiting cards as well as my own business cards was first on the list.
The Workwoman's Guide has directions for a card case... and I did try that at first. It didn't turn out too well. So I decided to go back to the drawing board. I search Godey's Lady's Book (Then called simply "The Lady's Book") and Peterson's Magazine hoping to find directions for making a card case. No such luck, although from 1830-1835 I did find many references in stories to cards and card cases used by both men and women. So they were definitely being used.
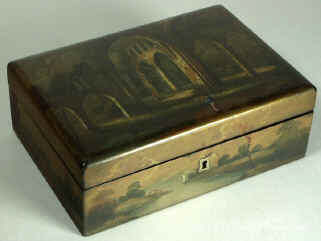
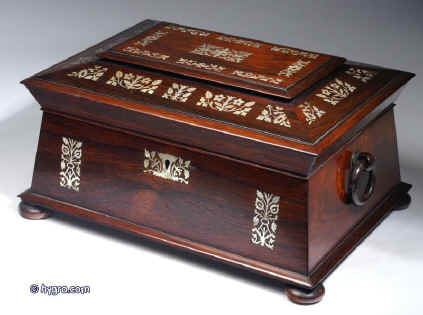
Although finding directions for making card cases was difficult, I did manage to find pictures of originals. I am especially fond of the following ivory/bone carved ones.
 |
| Philadelphia Museum of Art, 1830-1840 |
 |
| Philadelphia Museum of Art, 1830-1840 |
Unfortunately, no similar looking cases were for sale in my budget.
I decided to take a break from card cases and focus on the actual cards. I think mine turned out quite well, especially when compared to the original. I used Mrs. William H. Wharton for Sarah's cards as that would have been most common at the time.

Here's an original card. The date is unknown (1822-1863) as cards don't change a whole lot during this time frame.
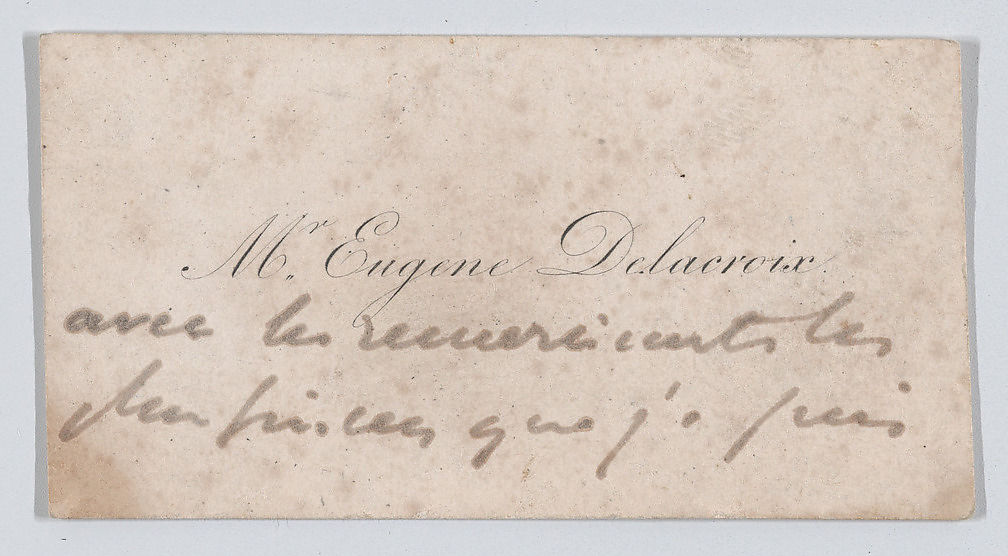 |
| Metropolitan Museum of Art |
Supposedly, the visiting card custom started in England before it moved to the States. I'm not sure of the time frame on that but cards were definitely being used in America by the 1830s. In 1832, Miss Emeline Parker from Massachusetts had her portrait done with visiting card in hand.
 |
| Metropolitan Museum of Art |
I can't find record of card cases being sold or card engraving services being offered in Texas pre-1836 but advertisements aren't as thorough in the early years as they become mid-1840s and beyond so that does not mean they weren't offered. Sarah, being schooled in Nashville and New York City would have certainly been familiar with the custom and probably had her own cards and case. As all Texans were transplants from other states (Texas only started being colonized by white people in 1821), it is likely that they brought this custom over with them.
As far as beaded card cases go, I had a hard time finding originals. But finding original card cases that aren't bone or metal is difficult as they are often labeled as something else (cigar case, pocket book, purse, coin purse, etc.). I found a few originals that had a similar look as what I was going for.
 |
| Unknown source, 1830-1850 |
 |
| Metropolitan Museum of Art, 1800-1830 |
 |
| FIDM Museum, 1785 (with sequins, not beads) |
For my case, I decided to do the beadwork on perforated paper, although the originals appear to have done the embroidery directly on the silk fabric. This was mostly so I could have holes to get my stitches even. I found when the case was done, it looks remarkably similar to the MET beaded example above and one can hardly tell the paper is there.
For my design, I picked a vine looking border done in green and blue with a center featuring a yellow rose and several little pink flowers. For the back, I decided to go with Sarah's initials done in pink. Since the initials were in pink, I opted to use a scrap of yellow silk for the interior of the case to make the pink stand out more. I used a bit of teal ribbon to bind the top edge of the pockets as well.
My finished embroidery pieces ended up about 4" by 2.5" with the finished case ending up being about 3" tall by the time you add in the bit of yellow silk on top.


Enjoy!