So I needed some type of sewing box to be Sarah. Being from an incredibly wealthy family, I know she would have quite the sewing box of her own. My goal was to create something similar to what she may have owned (alas, we have no record of where she kept her sewing implements) without breaking the budget. I was determined to create a period-correct sewing case that looked like it belonged to someone who could afford the absolute best, while still being able to afford such an article on a modern day teacher's budget. This was the result.
It started with a box. A sad little box that was in need of a LOT of TLC. But hey, I bought it for $30 off Etsy so I suppose I couldn't complain.


The exterior was in decent condition. There were two deep cracks on the top of the box as well as a pretty significant one on the bottom underneath some lovely poly-cotton fabric that was glued to the bottom. The interior was far worse.


Oh, yes. Take in all that glorious reflective green paper coverage. And the lovely, complementary orange paper on the top. I don't know who made these choices, but I have to question their sanity.
On the bottom of the tray insert was some marbled paper, perhaps from when the box was first made. I opted to leave it there even though I would be covering it in silk.

Underneath the orange was white paper and underneath the green was silver paper. The white and silver papers were very difficult to get off. It took about 12 hours of continuous work to get all the scraps torn away. But finally, I was left with a blank slate to work with.


The tray was missing a side so I took it to my dad who added a back and also stabilized the cracks in the wood. Then it was ready to be recovered.
I chose a lovely aqua blue silk taffeta for the new interior. I tested a lot of different glues but found that Elmer's school glue worked the best and was least likely to leave stains on the front. I still have a few stains-I have decided that I will blame them on Sarah's then 8 year old son, John Austin. I shall also be blaming the cracks on the box on him as well. After all, what good is a fake son if I can't blame all my project flaws on him?
The tray ended up being a bit tight once I put the silk in, but it still works so I opted to leave it. It was then time to look into how I wanted to organize the tray.
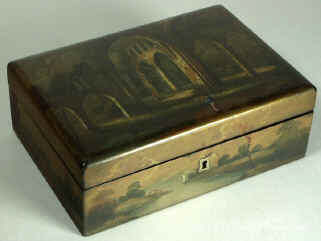
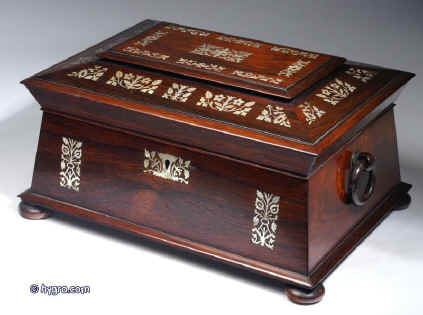
Hygra.com has so many wonderful antique sewing boxes (and other boxes, too-I used them when looking for a portable writing desk) from the early 18th century up until the 1870s. For this project, I pulled only the boxes with good photos of the interiors and only sewing boxes dated from 1820-1835.
 |
| 1835 |
 |
| 1835 |
 |
| 1820 |
 |
| 1820 |

 |
| 1835 |
 |
| 1825 |
 |
| 1825 |
 |
| 1835 |
 |
| 1835 |
 |
| 1830 |
 |
| 1830 |
 |
| 1835 |
 |
| 1835 |
 |
| 1830 |
 |
| 1830 |
 |
| 1820 |
 |
| 1835 |
 |
| 1835 |
 |
| 1820 |
 |
| 1830 |
 |
| 1830 |
I decided to have ten spools of thread, five on each side. One side for cotton thread and the other for silk. Most period sewing references include 2 thimbles, so that was a must. I also wanted a needlebook, a tape measure, an emery board, a pincushion, a thread waxer, and a place for hooks/eyes and buttons.
The resulting shape from my compartments looks similar to the first original with the purple velvet lining.

Now came the fun part. Filling it!
For basic sewing tools, I opted for mother of pearl pieces as they matched the mother of pearl detailing on the actual box. I bought plain silver scissors, as frequently seen in the original boxes but bought mother of pearl button hook and awl. I couldn't find a mother of pearl bodkin so I went with bone for that piece.
For basic sewing tools, I opted for mother of pearl pieces as they matched the mother of pearl detailing on the actual box. I bought plain silver scissors, as frequently seen in the original boxes but bought mother of pearl button hook and awl. I couldn't find a mother of pearl bodkin so I went with bone for that piece.

Thimbles were easy. I used a silver one and a mother of pearl one.

I found an antique tape measure made of mother of pearl. I would have preferred it to have a blue ribbon, but beggars can't be choosers.

The pincushion is basically a circle filled with emery sand and sawdust. I put a little pendant on the bottom to create a sort of stand.


The thread waxer and emery board/needle sharpener were made to mimic several originals I have seen.
 |
| Hygra, original spools, thread waxer, and needle cleaner |


The spools were made to mimic originals. I used mother of pearl pendants in a sunflower pattern for the tops and bottoms (larger versions of the pendants used in the thread waxer, emery board, and pincushion) and glued a long, thin glass bead on half (to mimic mother of pearl) and a thicker bone bead on the other half of the pendants. These two halves fit together and you can put a wooden spool in between them.

I made some buttons out of the spoons for the handles on the button and hook/eye compartment lids.


I added a large pair of dressmaker's sheers to the inside of the box as well.

Underneath the scissors compartment, I put my needle case. I made a beaded one with glass beads and perforated paper. I lined it in the same silk as the rest of the sewing box and used the same color silk ribbon to tie it off. The interior is wool felt. I love how it turned out!
 |
| Hygra, original 1830s beaded needle case |


Overall, I am extremely happy with the finished product!


Enjoy!
I think you did a splendid job on this project. I've been a fan of Hygra (and am a proud owner of one of their lap desks). It never occurred to me to refurbish an old sewing box myself. This is definitely a project for the future, after a return from vacation. I saw your YouTube video. You have inspired me quite a bit. Also, if you want some really wonderful and lush sewing toys, check out Elegant Arts on eBay - don't know where she gets her stuff, but it is so beautiful. Thanks again!
ReplyDelete