The original parasol was covered in a ribbed silk that was a little thicker than taffeta. I had pictures of the original parasol saved on both my computer and pinterest but I cannot find them all of a sudden. I'll update if I find them. Because the original silk was ribbed, for the second recovery attempt I tried silk twill but modern silk twill behaved nothing like the original silk so I used taffeta again for this last time. The twill was too thick, slinky, and shiny. The original looked just like a thick taffeta except you can see the tiny little ribs going up and down the fabric. I still have the original cover but I can't seem to get a good shot of the ribs. Here's the closest I got:
 |
| Close up of original cover's fabric |
Since I seem to have misplaced all my pictures, here is my best description of the parasol before I took it apart:
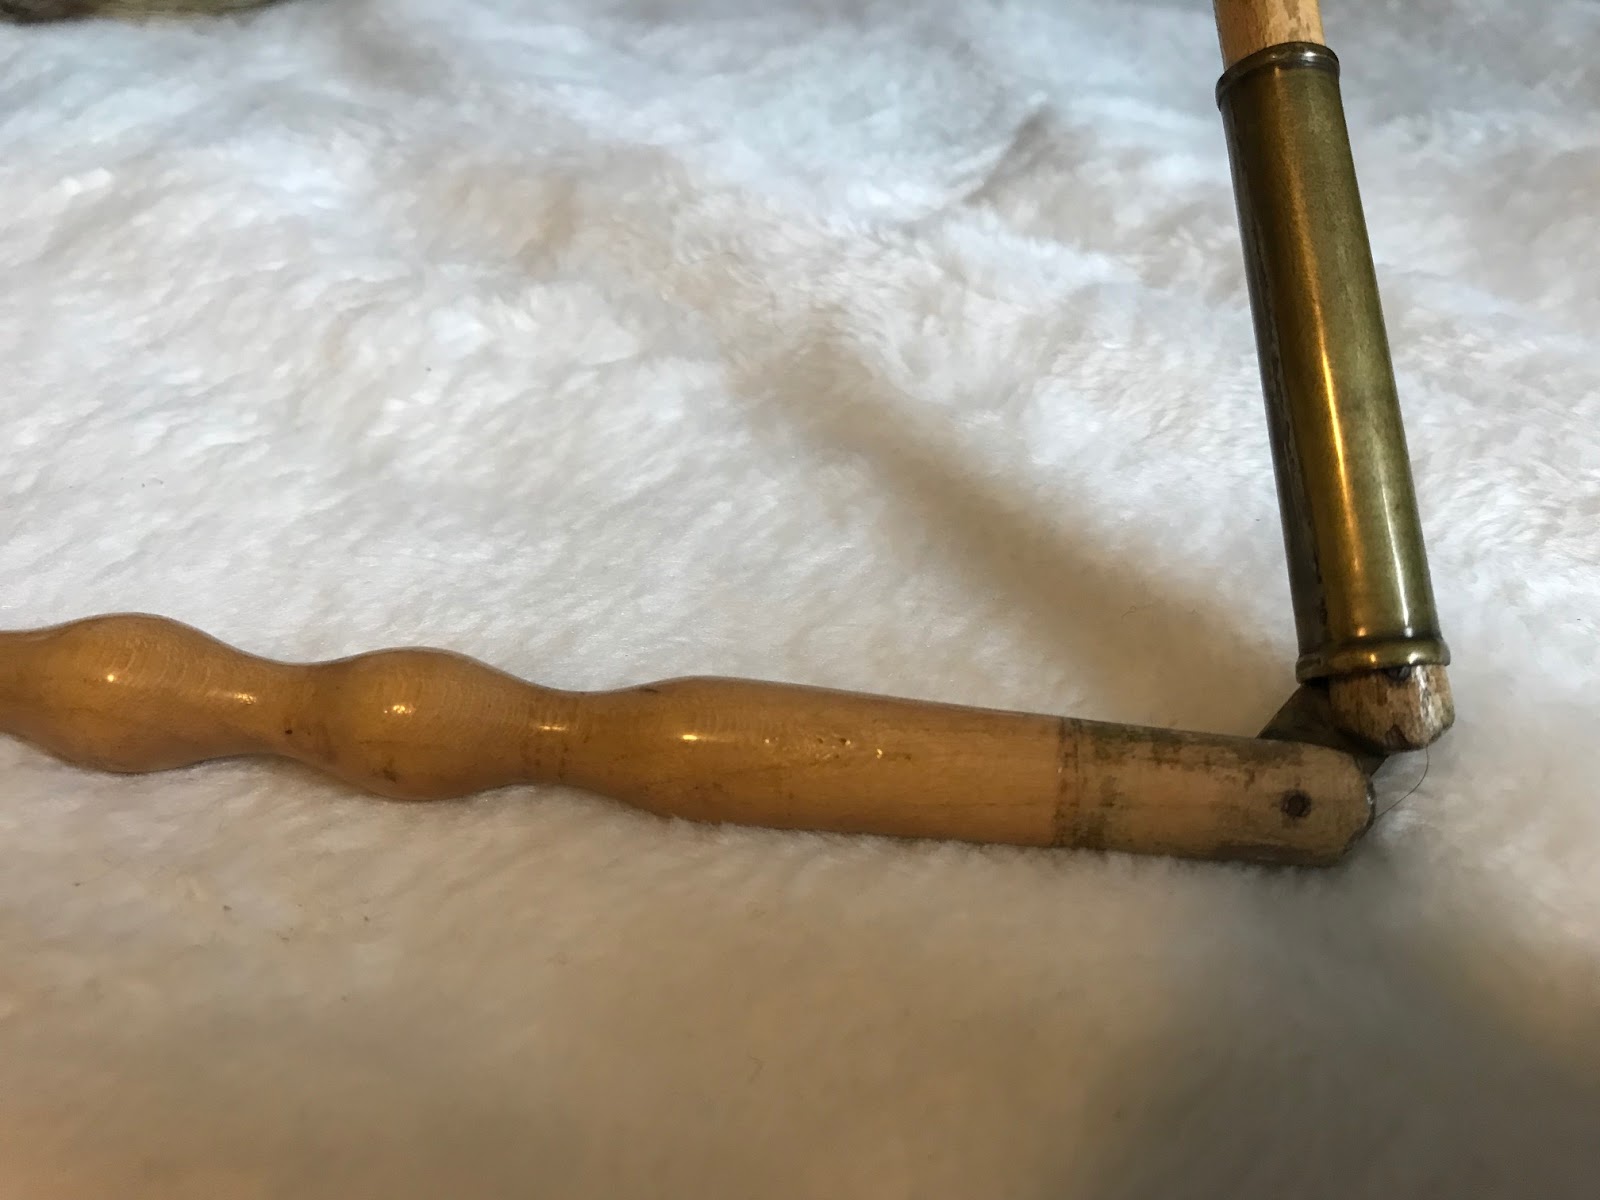
The parasol is all black and machine sewn. It is very typical of American made marquis parasols from 1860-1862. There is a ball on the handle end but the finial is long and thin. It folds half-way down the stick and since it is a marquis, it has another tilting mechanism at the very top. The ribs are all metal, with tiny pin-sized holes at the tips to sew through. We've already talked about the top fabric, but the lining fabric seems to be somewhere between a silk lawn and a china silk. It is as thin as 5mm silk habotai (china silk), but not nearly as shiny nor does it 'catch' on things as easily as the habotai. However, it is thinner than the silk lawn I eventually lined it with. On top, there is a single ruffle which ends about 1/2" above where the fashion cover ends. The ruffle is not full at all, in fact, it is only gathered enough (and it is gathered, and not pleated) to make it sit flat against the cover. The top of this ruffle seems to have been left raw, although it is possible there were scalloped 'pinks' finishing it off when it was much younger. The bottom of the ruffle, bottom of the cover, and bottom of the lining, have been finished off with scallops. It's hard to tell now because of the raveling, but there were at one point in time little tiny scallops within larger scallops. From end to end, the larger scallops are 1". I'd say there may have been 10-ish little scallops within each 1" scallop. Everything had been machine sewn-the top stitching was all straight stitch but the stitch that was used to sewn the pieces together was a chain stitch. The seams were all flat-felled with a chain stitch. The fabric and lining were tacked onto the ribs at the end, and halfway up, where the inner ribs hit the outer ribs.
It was my first parasol to take apart and recover so it sat in a closet for several months before I got the courage to start taking off the original cover. The silk had split beyond repair when I bought it so it wasn't salvageable as is. It took me awhile to figure out how to cut apart the chain stitch without further ripping of the cover. I took out one triangle of fabric to use as a pattern. It was the only piece that hadn't split so I thought I had a better chance of making a pattern that fit if the pattern piece was intact.
 |
| Pattern piece from original fabric |
Since I don't have an original sewing machine, I couldn't mimic the chain stitch so I just used a straight stitch to sew everything together. After attaching a ruffle, I pinned the new cover onto the inner ribs first, sewed them, then did the outer ribs.

Then it was onto the lining. I did the same thing with the lining-attach at the inner ribs first, then outer ribs. It didn't work as well as the cover-the lining is a little loose. But it works.


After that, I put a bit of ruffle near the finial and it was done.


This makes 3 of the 10 parasols I own usable. One 1850's, one 1860's, and one 1870's. Next parasol to be done is an 1864/1865 bone handled parasol with a Chantilly lace cover.