


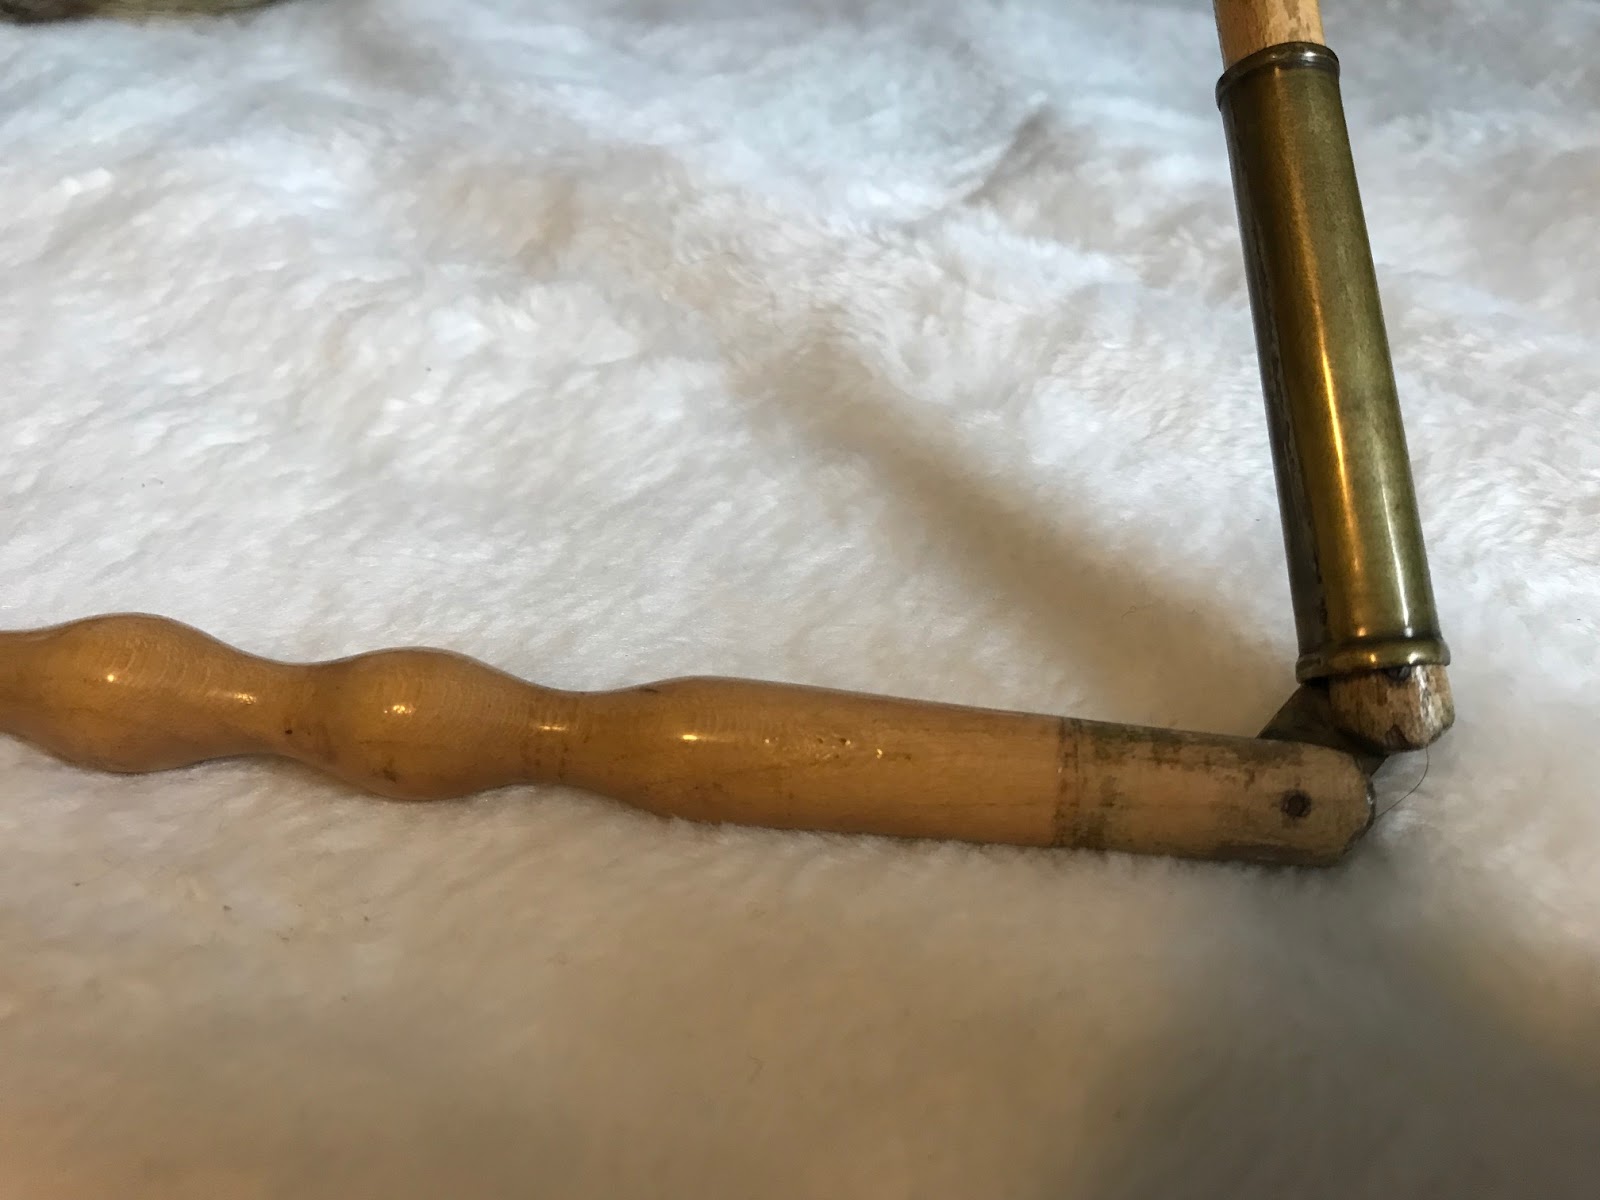
You can see that the silk is in quite poor condition. It appears to have gotten wet sometime in the last 160 years. The handle is carved wood and is really pretty, yet plain and simple. The finial is bone, but it has broken off sometime in the long years, unfortunately. I know someone who knows someone who works with bone (my friend had some bone pieces turned for her spinning wheel) so I may ask her bone worker if they could make me something that would be similar to what would have been there.
Of course, the first step to recovering a parasol is to take off the old cover. Maybe it was my 4 years working in a museum, but it always kills me a little inside to take apart an original. But it'll give the parasol new life again.
As I was taking the parasol apart, I noticed that the entire parasol was hand stitched. This may be more typical, but it was interesting to me since I've only ever restored Marquis parasols and they were machine stitched.
I wanted to reuse the original fringe but quickly realized that unknoting the fringe wasn't going to work. I tried 1 strand and the silk floss quickly shattered underneath the pressure. So I opted to cut out 1/2" above the fringe all the way around to make a sort of ribbon with fringe on the end.
 |
| Fringe 'ribbon' |
I tried for weeks to find an embroidered silk similar to the original and failed so I opted for using a nice stripe in similar colors. The stripe is silk taffeta and the lining was white silk habotai (china silk), very similar to the original lining weight and color.
Then, of course, comes the fun part-covering! I used one of the original pieces as a pattern and it came out very well first try. There is a little rippling towards the finial end of the parasol but otherwise, it is perfect. Then I attached the fringe.
After covering, I put in the fringe and then went to work untangling the fringe. This part took the longest-many, many hours of spraying the fringe with water and using a pin to pull apart each and every strand. But it looked nice when it was done!


Then the parasol was done!


No comments:
Post a Comment