Monday, May 27, 2019

New Underpinnings!

This post is long overdue-not just because I made these back in October, but also because I have not made new underpinnings since I began the hobby 8 years ago.  With how often I used to dress up at the Bell County Museum (almost daily at one point), that's quite a while for 2 chemises and 2 drawers to be in commission!  They've seen their fair share of action and have the battle scars (patches) to prove it!  Especially since I didn't exactly use top of the line materials and tend to sleep in my chemises in the summer.

Every year around the time Welbourne comes around, I go through my wardrobe and decide what I need to update/fix.  Let's just say underpinnings have been on that list since I started going to Welbourne 3 years ago.  And they just finally got done.

I decided to make 4 sets.  The longest consecutive events I attend are 3 days long-that gives me a set per day plus an extra just in case.  Each set contains a matching chemise, drawers, petticoat, and corset cover.  I used 200 thread count cotton-it's not quite as thick as Pima but isn't semi-sheer like regular muslin fabric.  I ordered a whole 25 yard bolt and ended up ordering a second 25 yard bolt to make a new nightgown and a few petticoats.

For all four sets, I used Simplicity 9769 for the chemise, making my own sleeve patterns.  I used this chemise the very first time I made a chemise and I have never had a chemise fit as nice as that one, but the sleeves went all the way to my elbow! I used Elizabeth Stewart Clark's instructions for drafting your own drawers pattern that can be found on The Sewing Academy.  I highly recommend Mrs. Clark's directions for drafting drawers-super easy and they fit so nicely!  I have never liked drawers-mostly because I can't stand fabric between my legs AT ALL but these I can tolerate.  Doesn't mean I'll wear them all the time, but at least I can tolerate them if I ever NEED to wear them (warmth, doing a talk on historic underpinnings, etc.)  Of course, I just drafted my own petticoat pattern (it's just rectangles!).  I believe I used 3 panels of 45" fabric for each petti.  And the corset covers are just my bodice pattern.

Enjoy!


Set 1: Wavy Braid

Original Inspirations
Original chemise in in the MET

Original Chemise in the collection of Carolann Schmitt.


Original drawers in the MET
Original petticoat in the MET


Corset cover illustration from 1868.  I don't think original trim was wavy braid, but it is very similar.


My reproductions:

Chemise back
Chemise front

Chemise close up
Drawers detail

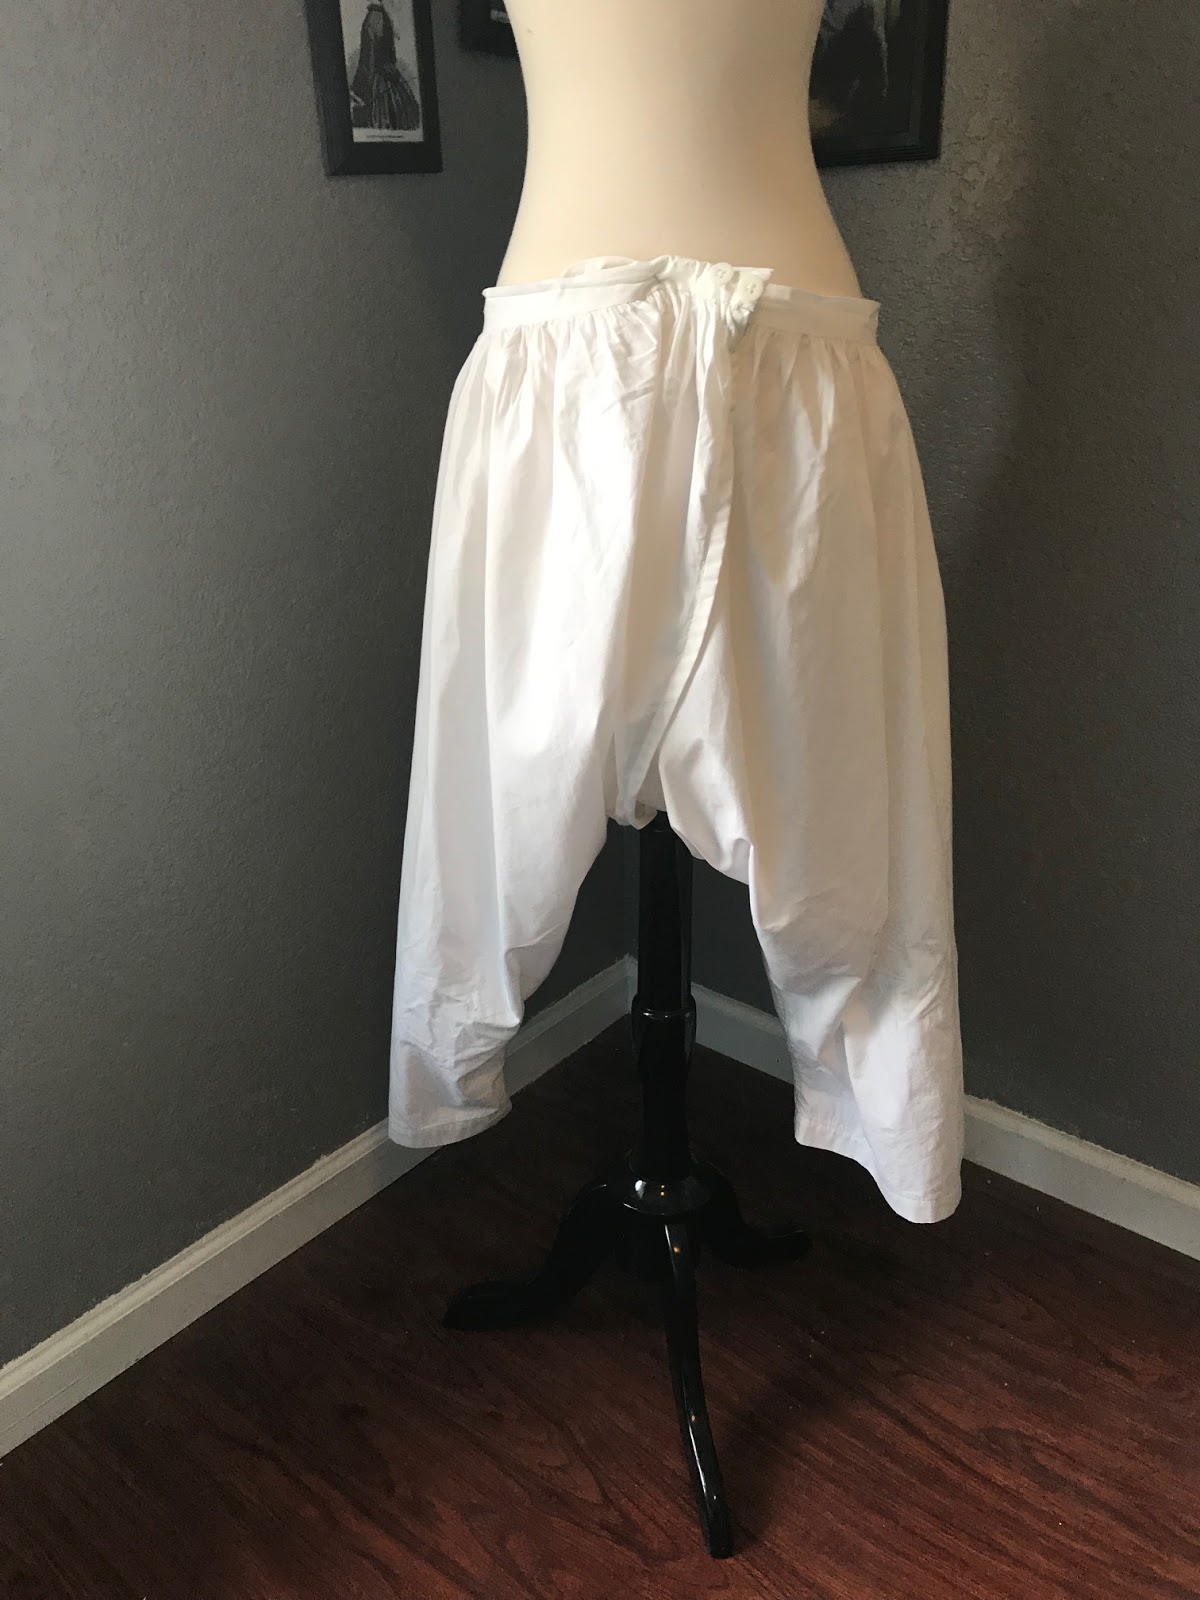
Drawers front
Drawers back

Petticoat back
Petticoat front

Corset cover close up
Petticoat detail


Notes on construction: This set is stitched completely by hand.  I melded the two original chemises together-using the plain wavy braid as in Mrs. Schmitt's chemise but also adding a section of it in the middle of the yoke like the MET one.  I have had the privilege of handling an original chemise/drawers set in the Bell County Museum that was made just like the MET's.  That's a lot of handwork and a lot of time, so I opted for simple.  For the petticoat, I used less wavy braid in my petticoat for the same reason-you have to tack each point of the wavy braid (both top and bottom) to the fabric and that was going to take forever.  Right now I have some china buttons on the set, but I love the look of the thread covered on in Mrs. Schmitt's collection and may have to attempt something like that in the future.


Set 2: Tucked

Original Inspirations
Lady's Handbook showing
tucked chemise 
MET tucked drawers
MET tucked petticoat
           
Corset cover from 1868 showing a tucked corset cover.


My reproductions:

Drawers front
Drawers back

Chemise back
Chemise front


Chemise close up
Drawers detail

Petticoat front
Petticoat back


Petticoat detail
Corset cover close up


Notes on construction:  This set is stitched by machine and finished by hand.  I meant to add ruffles on both the petticoat and the drawers, to be more like the MET petticoat, but I ran out of time before Welbourne and have left them as is.  No one really sees them anyway (haha!).


Set 3: Plain

Original Inspirations
MET drawers
Chemise from an
Auction site
MET petticoat
Private collection of Anton Priymak, ca. 1860.

My reproductions:

Chemise front
Chemise back


Drawers front
Drawers back


Petticoat front
Petticoat back


Notes on construction:  This set is stitched by machine and finished by hand.  If I ever end up doing working class events again, these will be my go-to.  They're really versatile which is why I made a plain set.  They're basically an exact replication of my original set of underpinnings I made 8 years ago, since I used those so often!


Set 4: Embroidered

Original Inspirations
Original chemise in a private collection
Original petticoat off Ebay
Original drawers in private collection


Embroidered corset cover from the MET.

My reproductions:

Drawers front
Drawers back


Drawers detail
Chemise close up


Chemise front
Chemise back


Petticoat front
Petticoat back


Notes on construction:  This set is stitched completely by hand.  I picked up the Swiss insertion and edging off Farmhouse Fabrics.  I was going to do this set by machine but then realized that to get the embroideries straight, it would be easier by hand so that's what I did.  I've worn this set several times already and love it!

Enjoy!

Sunday, May 19, 2019

Breakfast Cap

I've finally took a big step and made a breakfast cap.  It's been on my to-do list for the last 3 years but I never could bring myself to do it.  I don't know why-I just didn't relish the thought of making a cap.  I've had the supplies to make this one up for about 2 years and it's actually sat half-finished for 4 months.  I was tied up with a sinus infection this weekend (that is currently trying to morph itself into a migraine) and while I was sitting on the couch resting, I finally had the opportunity to sit down and finish the cap.  I'm super excited to be able to wear it at Welborne this year!

I used Kay's Negligee cap pattern for the most of it but used some details from a cap in the Uppland Museum in Sweden to make it a little different from the pattern.

Original engraving of the KayFigII Negligee Cap

Original cap from Uppland Museum

And now, my finally completed cap:


Saturday, April 13, 2019

An 1860's Lace Parasol

Out of the ten parasols I own, six of them are from the 1850's.  I have one from the 1870's and one from the 1840's.  So I truly only have two parasols from the 1860's.  I've actually survived on just one 1860's parasol for the last five years-my half-finished marquis.  Since I mostly docent (and can do either 1850's or 1860's as I see fit) and only do a few 1860's events a year, just one parasol is fine.  Now that my basic 1860's parasol was done, I decided to move on to the fancy one.

I purchased this parasol back in January but didn't touch it for a while.  The finial refused to come off and I never had to work around a finial before.  I wasn't looking forward to it.  I had read and heard that working around finials isn't fun and can be very difficult and fiddly.  And, I only needed one parasol for the 1860's and a marquis is a very serviceable parasol for all kinds of impressions.  Therefore, I dragged my feet a bit in getting started.

The original cover was long gone.  It was probably in such poor shape that some misguided soul decided to replace it to help it sell.  I say misguided because the parasol had been recovered in a shiny, stretchy polyester!  Not even close to what would have originally been on it!  The polyester was a cream color, which could have very well been the original cover however, you also see many colors underneath Chantilly lace parasols-blue, green, orange, brown, purple, white, cream, etc.  I really wanted blue at first since blue is one of my favorite colors, but I already have two fabric lengths of blue to recover parasols so I felt the need to do something different.  The color I felt worked best for the majority of my dresses was purple.
Original purple Chantilly parasol from an auction site

I purchased some purple silk from Pure Silks to recover it.  Since I bought my silk online, the purple came out darker than the original, which I'm not a huge fan of, but it still looked nice when it was completed.

I tried making a pattern from the slimy polyester but when putting it on the parasol to test it out, it clearly wouldn't work.  I then realized that the 1850's parasol I recovered just exactly the size of this parasol and I had that original cover.  I ended up using a piece of the original as a pattern for this parasol and it worked perfectly.  Seriously.  I have never made a cover that fit so well!  It makes me think that I may actually be getting a handle on the parasol recovery thing!


See those pretty little scallops along the edge?  I have spent years looking for an original pinking machine that makes scallops inside of scallops.  Couldn't find a one.  Finally, I stumbled upon, this website that sells a machine meant for pinking felt for taxidermy purposes.  It seemed too good to be true!  I splurged and got one.  It took me a while to figure out how to get it to cut silk (I almost sent it back) but in the end I got it to work.  They aren't exactly like original pinks.  These are 3/4" inch across, the originals are 1".  These make little pointed pinks instead of true scallops but once they ravel a bit (as all of them will), it looks exactly the same.  I can live with 1/4" difference in size.


I used it for my marquis, too.  I've grown quite fond of pinking things and now I'm thinking of all the projects I can pink with it!

Back to the point, after covering it comes lining it.  Unfortunately, the lining didn't turn out as good as the cover-there are some wrinkles.  I used the same pattern piece so I'm blaming it on the slinky china silk I used for the lining :).  I'll probably eventually reline it when I get my hands on some white silk lawn.  But it'll do for now.


Yay for two 1860's parasols!  I guess next I need to start working on some 1850's ones!