Saturday, March 30, 2019

An American Marquis Parasol Recovery

This was my very first parasol and my very first recovery attempt, so it is a special little parasol to me.  Since then, it's been recovered two more times.  This should be the last time.

The original parasol was covered in a ribbed silk that was a little thicker than taffeta.  I had pictures of the original parasol saved on both my computer and pinterest but I cannot find them all of a sudden.  I'll update if I find them.  Because the original silk was ribbed, for the second recovery attempt I tried silk twill but modern silk twill behaved nothing like the original silk so I used taffeta again for this last time.  The twill was too thick, slinky, and shiny.  The original looked just like a thick taffeta except you can see the tiny little ribs going up and down the fabric.  I still have the original cover but I can't seem to get a good shot of the ribs.  Here's the closest I got:

Close up of original cover's fabric

Since I seem to have misplaced all my pictures, here is my best description of the parasol before I took it apart:

The parasol is all black and machine sewn.  It is very typical of American made marquis parasols from 1860-1862.  There is a ball on the handle end but the finial is long and thin.  It folds half-way down the stick and since it is a marquis, it has another tilting mechanism at the very top.  The ribs are all metal, with tiny pin-sized holes at the tips to  sew through.  We've already talked about the top fabric, but the lining fabric seems to be somewhere between a silk lawn and a china silk.  It is as thin as 5mm silk habotai (china silk), but not nearly as shiny nor does it 'catch' on things as easily as the habotai.  However, it is thinner than the silk lawn I eventually lined it with. On top, there is a single ruffle which ends about 1/2" above where the fashion cover ends.  The ruffle is not full at all, in fact, it is only gathered enough (and it is gathered, and not pleated) to make it sit flat against the cover.  The top of this ruffle seems to have been left raw, although it is possible there were scalloped 'pinks' finishing it off when it was much younger.  The bottom of the ruffle, bottom of the cover, and bottom of the lining, have been finished off with scallops.  It's hard to tell now because of the raveling, but there were at one point in time little tiny scallops within larger scallops.  From end to end, the larger scallops are 1".  I'd say there may have been 10-ish little scallops within each 1" scallop.  Everything had been machine sewn-the top stitching was all straight stitch but the stitch that was used to sewn the pieces together was a chain stitch.  The seams were all flat-felled with a chain stitch.  The fabric and lining were tacked onto the ribs at the end, and halfway up, where the inner ribs hit the outer ribs.

It was my first parasol to take apart and recover so it sat in a closet for several months before I got the courage to start taking off the original cover.  The silk had split beyond repair when I bought it so it wasn't salvageable as is.  It took me awhile to figure out how to cut apart the chain stitch without further ripping of the cover.  I took out one triangle of fabric to use as a pattern.  It was the only piece that hadn't split so I thought I had a better chance of making a pattern that fit if the pattern piece was intact.

Pattern piece from original fabric

Since I don't have an original sewing machine, I couldn't mimic the chain stitch so I just used a straight stitch to sew everything together.  After attaching a ruffle, I pinned the new cover onto the inner ribs first, sewed them, then did the outer ribs.


Then it was onto the lining.  I did the same thing with the lining-attach at the inner ribs first, then outer ribs.  It didn't work as well as the cover-the lining is a little loose.  But it works.


After that, I put a bit of ruffle near the finial and it was done.


This makes 3 of the 10 parasols I own usable.  One 1850's, one 1860's, and one 1870's.  Next parasol to be done is an 1864/1865 bone handled parasol with a Chantilly lace cover.

Wednesday, March 27, 2019

1850's Parasol Restoration

In early December, I scored a few original parasols that were in desperate need of some restoration.  Both parasols are of the 1850's but I decided to restore this one first.  Be looking forward to lots of parasol posts lately-I'm recovering my old Marquis, and then addition to these two, I have since purchased six other 1850's/1860's parasols and will be working on them soon.  I also came across an 1840's parasol.  I don't do 1840's but it was at too good of a price to miss so I'll probably just recover it (it doesn't have it's original cover, anyway) and sell it to someone who could put it to good use.

This first parasol came from England, where it probably was from originally.  I thought it was going to be earlier 1850's but when I took it apart, the spokes were all metal, which puts it at least at 1858.  Fringe was an 1850's trim so this probably dates from 1858-1861, but I'm no expert.


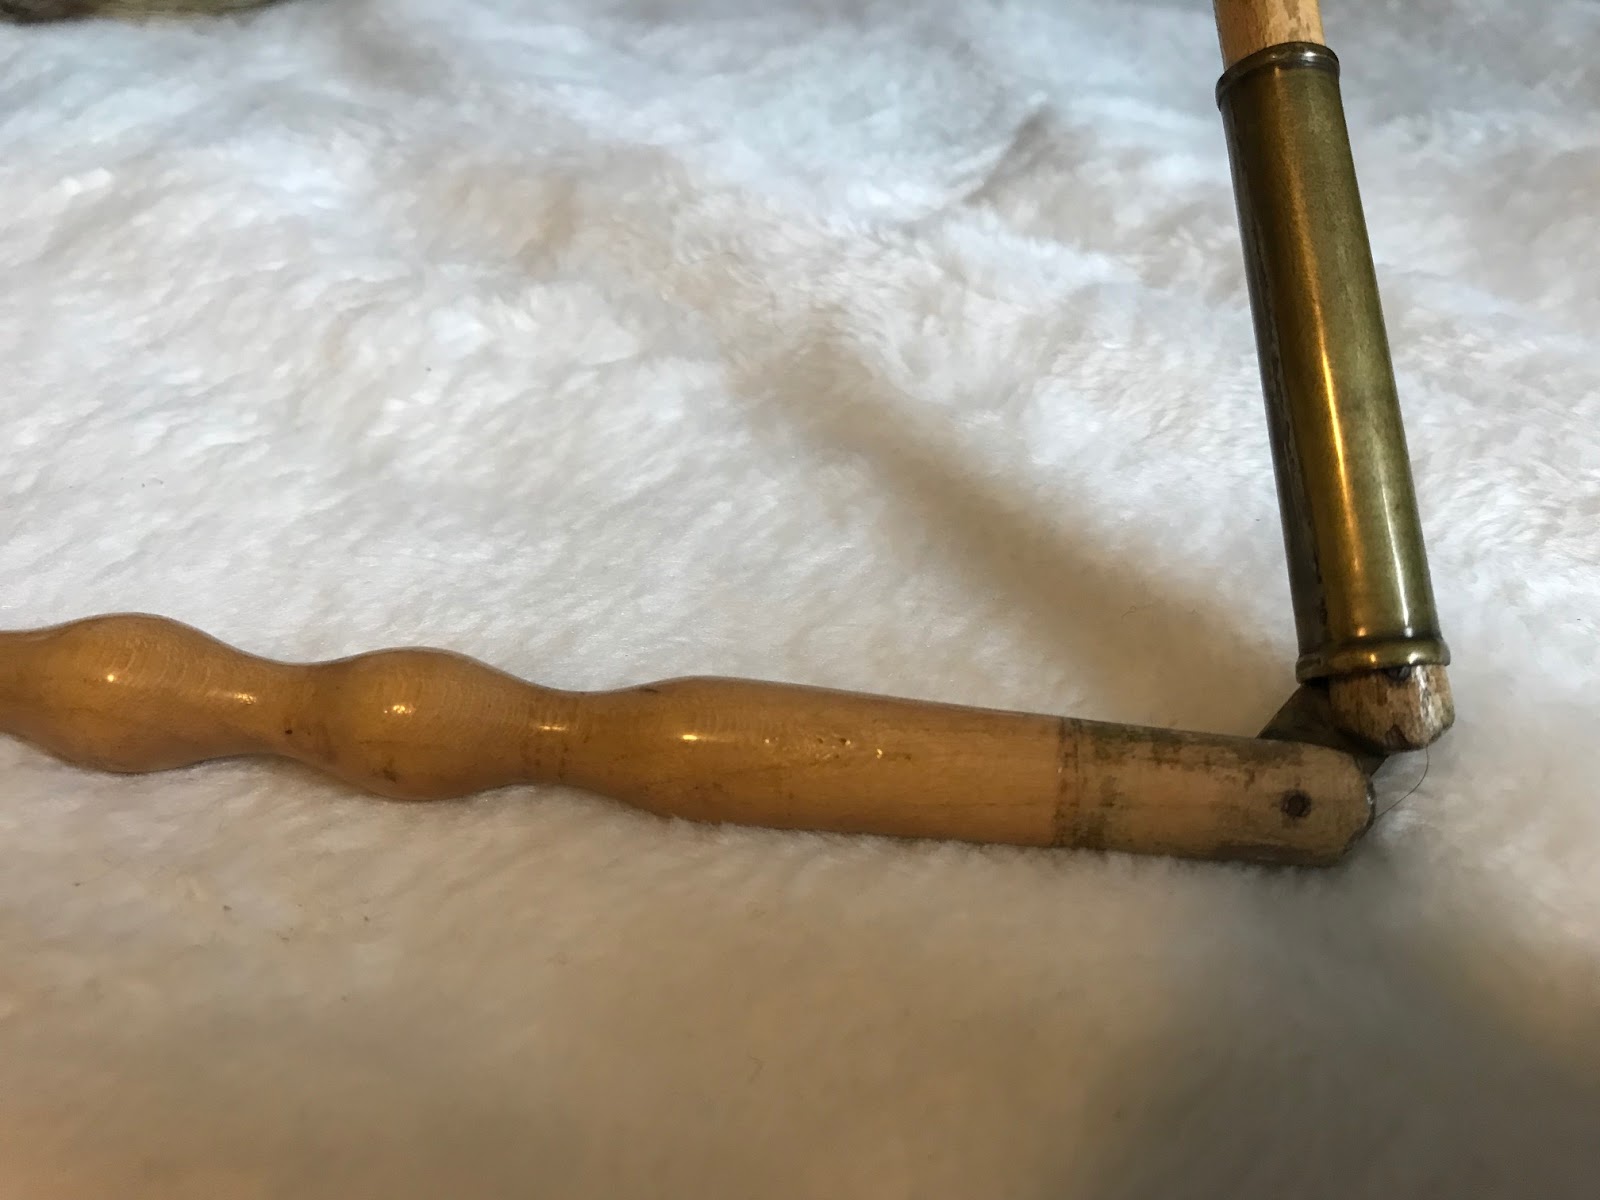
You can see that the silk is in quite poor condition.  It appears to have gotten wet sometime in the last 160 years.  The handle is carved wood and is really pretty, yet plain and simple.  The finial is bone, but it has broken off sometime in the long years, unfortunately.  I know someone who knows someone who works with bone (my friend had some bone pieces turned for her spinning wheel) so I may ask her bone worker if they could make me something that would be similar to what would have been there.

Of course, the first step to recovering a parasol is to take off the old cover.  Maybe it was my 4 years working in a museum, but it always kills me a little inside to take apart an original.  But it'll give the parasol new life again.

As I was taking the parasol apart, I noticed that the entire parasol was hand stitched.  This may be more typical, but it was interesting to me since I've only ever restored Marquis parasols and they were machine stitched.

I wanted to reuse the original fringe but quickly realized that unknoting the fringe wasn't going to work.  I tried 1 strand and the silk floss quickly shattered underneath the pressure.  So I opted to cut out 1/2" above the fringe all the way around to make a sort of ribbon with fringe on the end.

Fringe 'ribbon'

I tried for weeks to find an embroidered silk similar to the original and failed so I opted for using a nice stripe in similar colors.  The stripe is silk taffeta and the lining was white silk habotai (china silk), very similar to the original lining weight and color.

Then, of course, comes the fun part-covering!  I used one of the original pieces as a pattern and it came out very well first try. There is a little rippling towards the finial end of the parasol but otherwise, it is perfect.  Then I attached the fringe.

After covering, I put in the fringe and then went to work untangling the fringe.  This part took the longest-many, many hours of spraying the fringe with water and using a pin to pull apart each and every strand.  But it looked nice when it was done!


Then the parasol was done!


Sunday, February 3, 2019

Latest Excursions

It's been a while!  It's not that I haven't been blogging-I have been writing posts-I just really suck at taking pictures of things so they're just long blogs with words and no pictures!  Hopefully, I'll get around to posting soon.

I just wanted to quickly share of the outfits I've been wearing.  Last week, I got to go to the Texas Living History Association's annual conference which was held at Nash Farms in Grapevine, Texas.  Most of the sessions were on farm skills (seeing as it was held at a historic farm) but there were a few sessions that I enjoyed going to.  One was on antique sewing machine feet-what they were used for and how to use them. It was a really enjoyable session, although I don't use my sewing machine for 1860's wear. I also attended sessions on translating period knitting patterns and how to keep your audience engaged.

It was a whole weekend event.  I ended up driving up after school on Thursday.  Thursday night, we all went to a restored 1940's theatre wearing our 40's clothes and watched "The Egg and I".  That was super fun!  I technically have ventured into the 1940's before (with my Gray Lady dress) but civilian clothes were quite fun!


Everything had to be bought or made for this outfit as I had nothing that would work.  The shoes are reproductions from Amazon as are the nylon stockings.  The shirt I also bought off Amazon.  The jewelry is vintage and came from Ebay and the hat is also from the 1940's and was found on Etsy.  It wasn't in the greatest of shape when I bought it so it did have to have some restoration work done on it, but it was fun to work with!  The skirt and jacket were made using an original 1940's pattern and are made up in a rayon/wool blend.  Not an era I'm particularly interested in, but it's nice to have a complete outfit in case I need one again.

I didn't dress out on Friday at all but did Saturday.  I went for 1850's featuring an old silk skirt (I believe it was the 2nd silk dress I ever made) and a new wool basque (that's one of those posts with no pictures yet!).


Saturday night, I wore my 1865 red ballgown again.  I didn't get any new pictures, but here are last year's pictures.


I did end up adding skirt lifters to the skirt which worked really well for dancing.  Also, I had forgotten to bring my normal shoes that I wear with this gown and so I was already an 1" shorter than usual!

This weekend, I went out to Liendo.  It ended up being a really nice weekend-almost near 70 degrees.  Because it was such a nice day, we had several visitors and kept pretty busy.  I got to give the whole tour on my own for the first time!  Usually we switch off and do different rooms.  It was fun!  I wore the peacock dress's skirt with the plain white bodice I made for Welbourne this past year.  I ended up not wearing the silk jacket just because it was warm enough not to want another layer.


That's basically the end of my season! I'll only have Liendo to go to  once a month until September comes around.  I tend to get to go places nearly every other week from September to the 1st weekend in Feburary (excepting Christmas) so I've been pretty busy. I don't know what I'm going to do with all this free time!  Maybe get some pictures taken for blog posts :)!

Wednesday, October 3, 2018

Cabernet Organza Gown

It's been awhile!  I got hired in a new school district and life if finally setting down a little from a rather hectic start to a new school year.   I had forgotten how tedious it is to set up a brand new classroom!

Despite living in Texas my entire life, I own very few sheer dresses.  I have a dusty blue silk organza that I made years ago that as of last summer, I finally had to put away due to it no longer fitting.  That was about the time I made the star dress.  A few months prior, Paula and I each bought a length of barred cotton organdy from Pure Silks.  Paula bought the green color and I bought blue.  I started making up the skirt but got distracted with the star dress and put it aside for later.  After August, it got much cooler than expected so I ended up not making the organdy gown and wearing a silk instead.  And I haven't thought about sheers until mid-May when I realized I needed to get something together for Liendo in June.  I ended up wearing the star dress again, making a new collar and undersleeves for the dress instead.  I figured I would get the organdy done for August then be done with sheers. (That didn't happen either.)

Well, for the last nine years, I have spent July in Ukraine doing missions.  Sadly, between teaching summer school and getting a job in a new district closer to home (having to completely set up a new classroom!!), I wasn't able to find time to go this year.  It's a hard thought, as this would have been ten straight years of mission work there, but next year is promising and I do have a lot of things to get accomplished this summer so in a way, it as a blessing.

Well, to compensate for the fact that I don't get to go 'home' this summer, I bought a length of silk organza to make a new sheer gown.  And I've also always wanted to try dying fabric in the washing machine so I figured it was a good time to try.  I got my silk organza and dye from Dharma Trading-I absolutely LOVE Dharma!!!  They have an excellent range of fabrics and dye AND they have fantastic customer service.  Not to mention unbeatable shipping times.  I ended up buying an acid dye in the Cabernet color.  After it was all said and dyed, the color came out a bit more purple than I was expecting, but it is beautiful and I don't have anything like it so that was a nice surprise.  Dying in the washing machine worked perfectly!  I've never had good success dying silks-especially dress lengths but it came out flawless.  I never got a picture of just the fabric, but Elara decided she loved the silk as I was sewing so I got a picture of her playing in the fabric.  Close enough, I guess.


It's been a while since I've worked with silk organza-I forgot how difficult it can be to cut straight in long lengths such as a skirt.  But it worked okay.  The skirt was a little wonky, but I managed to hide most of it in folding over the waist.  I did normal skirt treatments-8" facing in white to blend with petticoats, large white pocket on the right side, and gauged at the waist.

I ended up double lining the top with 200 thread count cotton because with my colored corsets (1 blue and 1 red), they tend to show through single layers without a corset cover and I'm tired of wearing one.  I made the lining half high and finished the edge with a bit of lace to fancy it up.  I ended up using the same lace as edging on the collar, undersleeves, and matching handkerchief.

The sleeves are sort of modeled after Simplicity 9761's bell shaped sleeves (I don't have the pattern, I just went with general shape).  I also shirred the sleeves such as in these originals:

Private collection of K. Krewer
Collection of Chester County Historical Society.  Photo by A. Bethke.

The undersleeves are made of cotton voile and trimmed with lace.  I did the same with the collar and handkerchief. It was a nice, cool way to spend my first Texas July in ten years!